
Pradeep Singh | 1st April 2016
NodeMCU is a great module when it comes to IoT experiments, but setting it up for the first time could cause headache. Here I am putting some basic steps to make initial setup a little easy for you –
Prerequisites:
Before you begin make sure you have easy access to following components
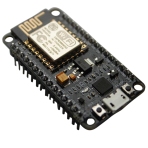
- NodeMCU Module
- USB to Micro USB cable
- Computer (Win OS) with Internet Connection
Configuration Steps:
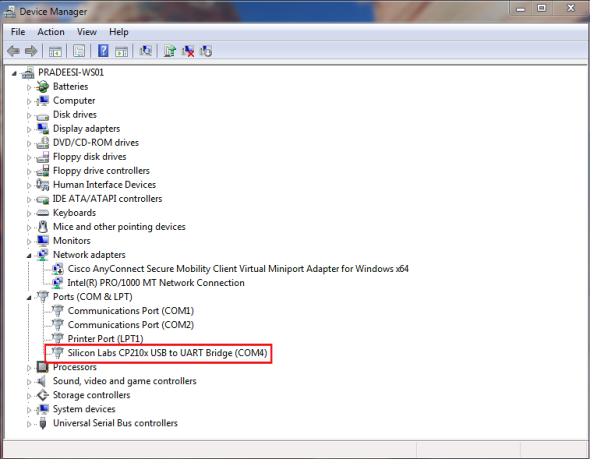
1. Download and Install “CP2102 USB to UART Bridge Controller” driver from Silicon Labs Website.
Once your USB to Serial Converter is successfully installed, you should be able to see a Com Port attached to it in Device Manager. Make a note of Com Port assigned to this module, you will need it later for flashing firmware.
2. Download and Install “NodeMCU Flasher” from GitHub Repository.
Note: NodeMCU Flasher will have a default Firmware file with it. If you want to upgrade to latest Firmware you can download latest NodeMCU Firmware from GitHub Repository and configure NodeMCU Flasher to use this file (goto “Config” tab of NodeMCU Flasher and select the downloaded “.bin” file for address “0x00000”).
3. Use a USB to Micro USB cable to connect your computer with NodeMCU Module and flash it with firmware using NodeMCU Flasher (Refer to the instructions at this Link).

4. After Firmware update, close the NodeMCU Flasher application and power cycle the NodeMCU board by removing USB cable from Computer. Wait for 5 seconds and put it back.
5. Now you are ready to program your NodeMCU module. You can use any tool for this but I personally prefer ESPlorer. It’s a great IDE to start playing with NodeMCU
6. Test it with a simple program using ESPlorer IDE. Open ESPlorer by clicking on “ESPlorer.jar” file and perform following actions. For easy reference I have attached a screenshot of ESPlorer IDE and added some numbered labels along with blue boxes.

(1) Select correct Com Port and click on “Open” button on ESPlorer (In this Screenshot the button label is showing “Close” as we are already connected on Com port).
(2) You should be able to see “Got answer!” output on console if you are connected to correct Com Port.
(3) Click on “Snippets” button and click on “Edit Snippet0”.
(4) Add “print(wifi.sta.getmac())” to Snippet0.
(5) Click on “Run” button.
(6) You should be able to see MAC Address of ESP8266.
7. Congratulations! you have a working NodeMCU.

Thank you very much for putting this together. All worked as expected based on your direction. I have been experimenting on the ESP8266-S01 with Arduino Uno, so this new module will add fun, simplicity, and complexity all simultaneously!
LikeLike
I am glad it worked for you 🙂
LikeLike
have tried three windows 10 machines and no luck should work with 10 yes? the usb board wiil not register in device manager installed both 5.3 with and without emulator
LikeLike
Seems like an issue with USB to Serial Driver for Windows 10. There are several types of NodeMCU Dev Board floating in the market. Please check the UART Chip manufacturer on your board and try to find respective Windows 10 Driver for the same.
LikeLike
Thank you very much, it really helped a lot.
LikeLike